Domestic Travel
One of the benefits of domestic travel is that it can be more spontaneous and cost efficient than international travel. Knowing how to get and stay prepared for even a short ride to the nearest coast, lake, or quarry can help make your local trips easier, safer and more enjoyable.
Get Prepared:
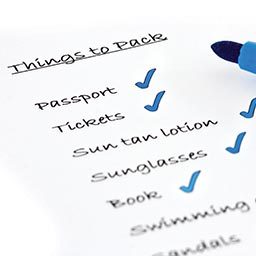
- Create a packing checklist based on your typical dives.
- Maintain your gear so you can grab it and go.
- Assemble a first-aid kit and a save-a-dive kit.
- Keep your relevant certifications up to date.
Before You Hit The Road:
- Research the weather, currents, and water temperatures at your destination.
- Customize your packing checklist for this specific trip.
- Check — and if necessary replenish — your first-aid kit.
- Tell someone where you are going.
- Remember to bring plenty of water and healthy snacks.
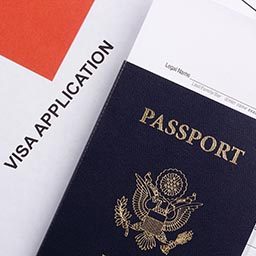
International Travel
2 Months Before Travel:
- Be sure your passport is valid at least six months following your last intended date of travel.
- Determine whether you need a tourist visa.
- Find out whether you need any vaccinations.
- Complete RSTC medical form and have copy of physician sign off if needed.
- Decide whether you want to apply for Global Entry.

1 Month Before Travel:
- Check your destination country’s laws about your prescription medications.
- Acquire local currency and talk to your bank about international ATM arrangements.
- Find out if there are foreign transaction fees associated with your credit cards.
- Enroll in the Smart Traveler Enrollment Program (STEP), which connects you with the nearest U.S. Embassy or Consulate.

2 Weeks Before Travel:
- Customize your packing checklist.
- Set up a global calling plan.
- Inform your credit card companies of your intention to travel abroad.
- Make sure you have purchased or renewed your travel insurance.

1 Week Before Travel:
- Make two copies each of your passport (color copies are preferred), driver’s license, credit cards, itinerary, lodging confirmation and visa (if you need one). Leave one set of copies with someone at home, and pack the second set someplace separate from the original documents.
- Contact your post office to request that they hold your mail while you’re away.
- Pack everything you won’t need before your trip.
24 Hours Before Travel:
- Check in to your flight, and make sure you have a seat assignment.
- Run back through your packing list again, and make a copy to help you pack for the return trip (so you won’t forget your toiletries, chargers, medications, etc.).
- Notify someone of your travel plans.
Air Travel With Gear
Looking forward to invigorating days of diving is sometimes the only way to get through the headache of traveling with dive gear, which can be clumsy, cumbersome, and difficult to explain to airport security. Use the following guidelines to streamline the process.
Check Before You Check
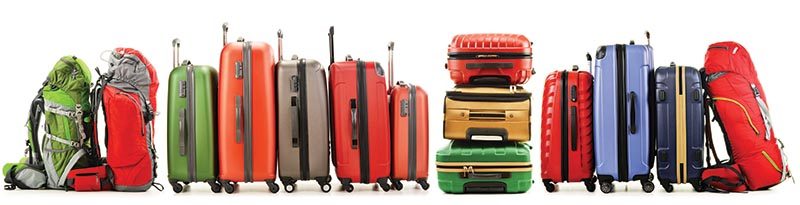
If you’re planning to bring your gear with you, think about what you have to check and what you should bring in your carry-on to make sure you can dive immediately even if your bags don’t make it. Remember also to research your airline and destination country’s baggage allowances.
Carry On
- Regulator
- Dive Computer
- Mask
- Swimsuit
Carry On or Check
- BC/BCD
- Fins
- Snorkel
Check Only
- Cutting Tools
- Spearguns
- Cylinders*
* When traveling with cylinders, make sure to remove the valves.
Rental Gear
If you choose to forgo the hassle of traveling with your gear, find a dive operator that offers gear rentals. The quality of rental gear varies, so make sure you thoroughly research the dive shops at your destination. If you do choose to rent gear at your destination, you’ll still want to bring a few items.
Items widely available for renting
- Regulator
- Dive Computer
- Mask
- Swimsuit
Items that may or may not be available for renting
- Masks
- Snorkels
- Fins
Specialty items to consider renting
- Cutting Tools
- Surface marker buoys
- Light
Dive Site Regulations
Depending where you dive, rules differ. The site can regulate everything from what gear you can use to what hours you can dive. Before you go, ask these questions:
Does my training match dive site requirements?
Not all dive sites allow open water recreational divers. In fact, some dive sites — such as cavern and cave diving sites — require a high level of training. Make sure you either check online or call the local dive operator to determine certification and training requirements.
What equipment is allowed?
Some sites require you to bring special equipment such as surface marker buoys or spare air. Other locations prohibit use of certain items such as diving gloves or spearguns to protect the marine environment. Learn what is necessary and what is restricted before you pack.
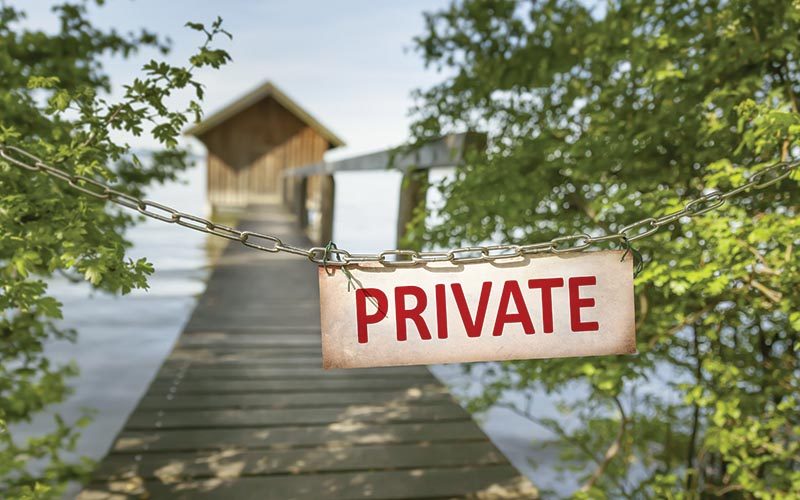
What are the site’s access requirements?
Protected dive sites or sites located next to private property may require you to purchase a ticket or tag to dive. You may also find out that entry is limited to specific locations. Don’t show up to a site only to be turned away. Do your research.
Good diving etiquette dictates that divers should follow the rules set in place no matter where in the world they travel. Remember that diving regulations are in place to protect your safety, the safety of the marine environment, and the local customs and laws of your travel destination.