A how-to guide for aspiring beach divers
Here’s a scenario that may resonate with some of you: I’m on a dive trip, and it’s early in the morning. My alarm blares, ripping me from a deep sleep — the dive boat boards in an hour, so there’s no time to hit snooze or lollygag in the pillows. I pry open my eyes as I give myself a mini-lecture: “Morning’s here, I’m on vacation, I’m going diving, and it’s going to be fun!”

Don’t get me wrong; I’m always excited to dive. But if I’m 100 percent honest, sometimes I prefer to do so without an alarm going off at oh-dark-thirty.
That’s where shore diving comes in, and it’s why I’m a devotee of beach-accessible dives. Aside from allowing me to avoid that sunrise alarm, shore diving offers other freedoms as well: the last-minute choice of a dive site, the ability to do a two-hour dive without worrying a boat crew and the liberty to add a dive to my day if conditions allow. As an added benefit, beach diving can be quite economical compared with boat diving. Of course, let’s not forget that some of the most incredible sites in the world are most easily dived from the beach — think Bonaire’s Salt Pier, Florida’s Blue Heron Bridge or Bali’s Liberty wreck.
There’s a lot more to shore diving than just beach entries; specific considerations exist for shore entries, including sand, rocks, surf, and more. However, although this particular type of diving may seem a little daunting to the uninitiated, a considered approach and a few simple steps can provide a new set of world-class opportunities for almost any diver.
Do Your Homework
Read articles and books about the areas you’re considering, and then speak with local dive shops to understand the best sites and general approaches to diving in the region. Local regulations (such as whether you’ll need a dive float), parking, locations for entry and exit, tides, surf and current, seasonality, topography and marine life are all good to know.
Tapping into social media groups for divers who live near or frequent the areas where you’re planning to dive is a great way to remain informed about recent sightings, conditions and forecasts and to connect with other divers who are familiar with local sites. Hiring a local guide for an introductory dive can be a game-changer for safety and overall enjoyment.
Be prepared for the increased physical exertion that comes with shore diving. Pretrip fitness training can help when you need to carry gear to and from the water’s edge, walk up and down stairs or through surf and also help you endure long surface swims.

Gearing Up
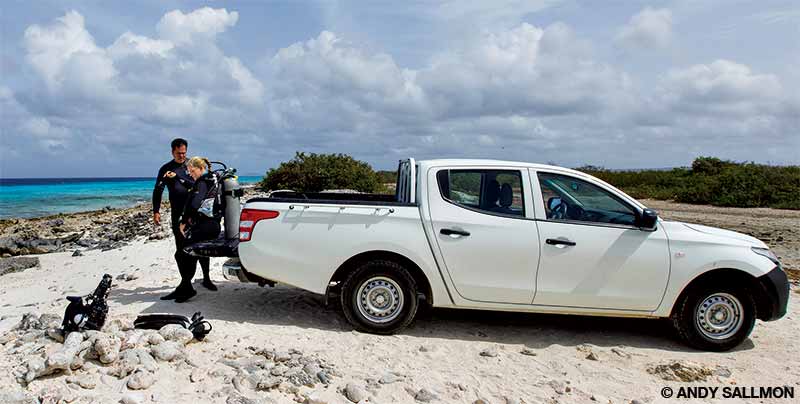
A few simple additions to your kit will enable you to gear up for a beach dive like a pro. A tarp or thick mat will provide a great dressing area, allowing you to minimize contact with sand and rocks before and after your dive. Portable rinse systems are another good way to keep your gear clean. Have a first aid kit, oxygen unit and emergency phone numbers available in your vehicle in case of an emergency.
Your entry and exit may involve traversing sand and rocks, so make sure your gear is rugged enough to comfortably handle the task at hand. Wetsuit booties or drysuit boots with thick soles will provide traction and protect your feet. Using soled footwear will mean you need open-heeled fins, in which case I recommend adding spring straps — being able to smoothly slip your fins on and off will help you minimize your time in the surf zone. Many experienced beach divers use a “fin-keeper” strap to secure their fins during exits.

Gear and gadget stowage is another consideration; you’ll want to enter and exit the water with your hands free, and you’ll especially want to ensure backup and safety gear is secured but easily accessible. You can achieve this by clipping items to D-rings on your buoyancy compensator or by adding pockets (which may contain protected interior D-rings) to exposure gear with tech shorts or glue-on pockets. Safety gear is also crucial; a signaling device, line cutter and compass are good to have.
Finally, decide how you’ll store your car keys — such as in a waterproof key fob container — during your dive, and have a backup plan in case your key is “misplaced” in the water. For divers bringing a camera, I recommend keeping it clipped to your BCD — making sure it’s easy to release in an emergency — though it’s best to leave it behind for your first dive or if conditions are challenging.
Before Your Dive
Allow time to scout the location. There are usually preferred routes to access the water, especially in rocky regions or those prone to surf or current. Watching divers successfully start and end their dives can show you how to follow suit. Look for signs detailing specific local issues, such as rip currents, marine life hazards or poor water quality. Examine the shoreline for areas that will allow easy entry — sandy patches in the middle of an otherwise uneven beach, for example — as well as features to avoid, such as sharp rocks or urchins.
If lifeguards are on duty or if divers have recently emerged from the water, you may be able to get a real-time idea of conditions and marine life sightings. Finally, ensure a nondiving third party knows your dive plan and when to expect your return.
Entry and Exit

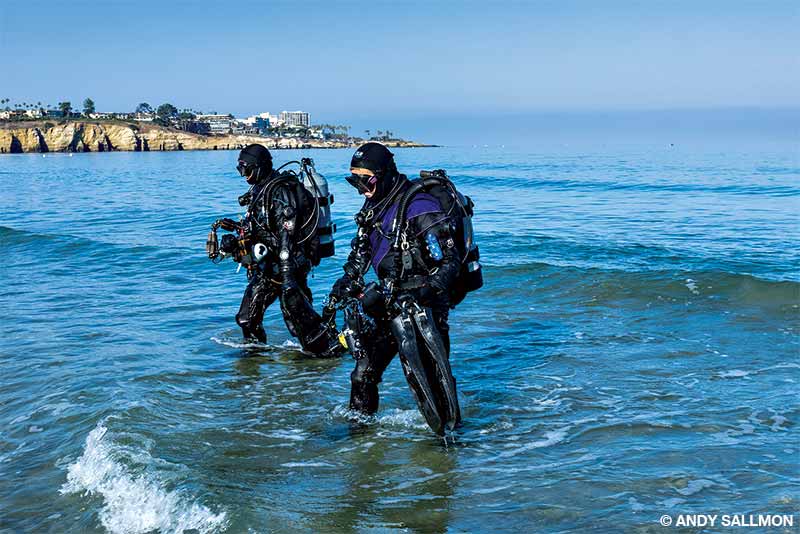
Gear up, perform a careful buddy check, and approach the water. Your hands should be free to carry your fins and help steady your buddy if needed. Have your mask on and your regulator in your mouth as you enter the water. Big waves can occur without warning, so keep a frequent eye on the surf. You should be able to simply hop over most waves; if you encounter larger waves, place one foot in front of the other to stabilize yourself and duck under them. If they are at or over your head, you may wish to reconsider the dive.
Either don your fins at the water’s edge and walk sideways into the ocean, or if conditions are calm, slip on your fins once you’re in water that is between hip and chest deep. Next, either begin your dive or inflate your BCD and flip onto your back to kick out to your descent point, taking note of features on the shore to use as visual references.
Carefully monitor your gas supply during the dive, ensuring you have enough breathing gas in the event of an emergency. Don’t forget to retain adequate breathing gas for your return to shore and a reserve in case an emergency arises, keeping in mind the specific variables and characteristics of your dive.
If you encounter a rip current — a strong current running perpendicular to shore — calmly swim parallel to the current to escape it before continuing or aborting your dive. Many divers prefer to swim underwater as long as possible on the exit to minimize surface swims and time in the surf zone.
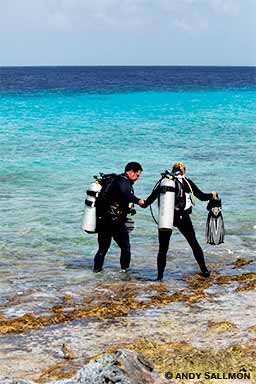
When you can stand up, slip off your fins and walk sideways or backward out of the water, keeping an eye on the waves. If the surf has increased during your dive, it’s best to navigate to an area where the waves are small enough to manage. In a worst-case scenario, crawling out of the water geared up with a regulator in your mouth and your fins on is possible, but only do so if necessary.
Know When To Say No

The best aspect of shore diving is the freedom to decide when to dive. Knowing when to call a dive, however, is the most crucial part of shore diving. The typical dealbreakers in beach diving — large surf, a badly missed tidal window, a ripping current or a critical gear issue — are generally easy for veteran shore divers to recognize. Often this knowledge has been gained the hard way, such as through the loss of gear or a minor loss of footing during entry or exit.
It’s imperative to understand that genuinely dangerous scenarios can and do occur. Some of these situations may not be so obvious for new beach divers; when in doubt, consult and heed the recommendations of lifeguards or a local dive shop. This decision must also extend to your dive buddy, whose comfort or experience levels may be different than yours. A taller diver, for example, might not be as concerned as a shorter buddy about higher-than-expected wave heights.
There is no prize for the diver who enters the water in the iffiest conditions, and there is no winner when divers dive just because they can. Be brave enough to speak up if you feel uncomfortable with your dive plan, and be accepting enough to recalibrate or cancel the dive if your buddy is reluctant. In the end, avoiding a stressful, unpleasant or even dangerous situation is far preferable to losing a day of diving.
© Alert Diver — Q3/Q4 2021